How to Factory Reset a MacBook Air: Complete Guide
A step-by-step guide to factory resetting your MacBook Air safely, whether you're troubleshooting issues or preparing to sell your device.
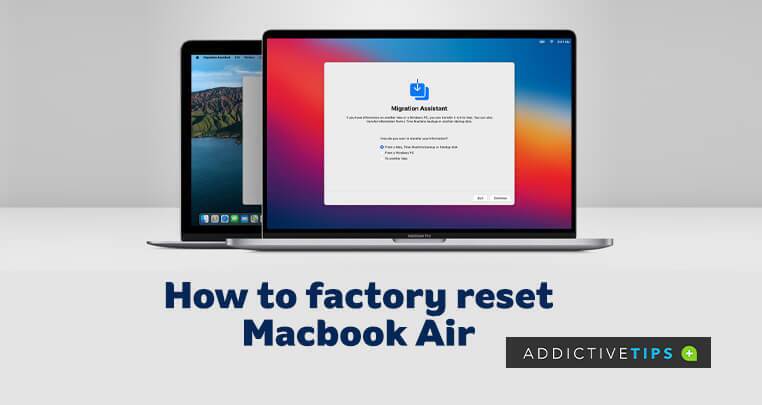
If you need to factory reset your MacBook Air, this guide will walk you through the complete process safely and effectively. A factory reset is often the final solution to persistent software issues, or a necessary step before selling or giving away your device to ensure all personal data is removed.
Check for Unfinished Repairs Before Erasing
If your MacBook Air is running macOS Tahoe 26 or later and was recently repaired, Apple now requires you to run Repair Assistant to check for an unfinished repair before erasing the Mac. Skipping this step on an affected machine can cause problems during the erase or setup process.
To check, open Repair Assistant from the Utilities folder or follow any on-screen prompt that appears. This applies only to Apple silicon Macs that have been recently serviced — it does not affect every MacBook Air. If your Mac has not been repaired recently, you can skip this step and proceed with the factory reset process.
How to Back Up Files on MacBook Air
Before wiping your MacBook Air, you should back up any files you want to keep. Apple’s built-in Time Machine utility makes this straightforward, allowing you to back up apps, photos, music, and more.
- Connect an external storage device to your Mac.
- Click the Apple icon in the top-left corner of the desktop. On macOS Ventura (13) and later, go to System Settings > General > Time Machine. On macOS Monterey and earlier, go to System Preferences > Time Machine.
- Click Select Backup Disk.
- Select the external storage device you connected, then click Encrypt Backups > Use Disk.
- On the Time Machine screen, use the ON button to start the backup process.
Once the backup is complete, you can proceed with the factory reset. To restore your files on the same or a different MacBook Air, connect the external storage device and follow the prompts on the Restore page.
Pro Tip: If you accidentally deleted something before backing up, Stellar’s Mac Data Recovery Software is an easy way to recover documents, pictures, videos, and audio clips on Mac devices.
Before Selling or Giving Away Your MacBook Air
If you are factory resetting your MacBook Air to hand it off to someone else, complete these account and ownership steps before erasing anything. Skipping them can leave the next owner locked out by Activation Lock, or leave your personal accounts on the device.
- Confirm you have a backup. Make sure your Time Machine backup or another backup is complete and verified before proceeding.
- Sign out of your Apple Account and disable Find My. Go to Apple menu > System Settings > [Your Name] (macOS Ventura and later) or Apple menu > System Preferences > Apple ID (macOS Monterey and earlier). Scroll down and click Sign Out. This also disables Find My and removes Activation Lock — if Find My remains on, the new owner cannot activate the Mac.
- Sign out of Messages. Open the Messages app, go to Messages > Settings (or Messages > Preferences on older macOS), click the iMessage tab, and sign out.
- Deauthorize your Mac from media apps. Open the Music app, go to Account > Authorizations > Deauthorize This Computer. Do the same in the TV app and the Books app if you use them. On older macOS versions with iTunes, use Account > Authorizations > Deauthorize This Computer in iTunes instead.
- Unpair Bluetooth accessories you plan to keep. Go to Apple menu > System Settings > Bluetooth (or System Preferences > Bluetooth), find each accessory you want to keep, and click the remove button next to it.
Once you have completed these steps, the new owner will be able to set up the Mac as their own without hitting any Activation Lock barriers or finding your personal accounts on the device.
How to Factory Reset MacBook Air Using Erase All Content and Settings
If your MacBook Air runs macOS Monterey (12) or later and has Apple silicon or a T2 chip, the easiest official reset method is Erase All Content and Settings. This option handles the entire wipe in one guided flow without needing to boot into Recovery Mode or open Disk Utility manually.
Check Whether Your MacBook Air Is Eligible
Three things determine eligibility: your macOS version, your chip type, and whether you have a T2 chip if you are on an Intel model.
Step 1 — Check your macOS version: Click the Apple menu in the top-left corner and choose About This Mac. The macOS name and version number appear at the top of the window. You need macOS Monterey (12) or later.
Step 2 — Identify Apple silicon or Intel: In the same About This Mac window, look at the Chip or Processor line. If it shows Apple M1, M2, M3, or a later M-series chip, you have Apple silicon. If it shows an Intel Core processor, you have an Intel Mac.
Step 3 — Verify the T2 chip on Intel models: If you have an Intel MacBook Air, go to Apple menu > About This Mac > System Report (or open System Information from Applications > Utilities). In the left sidebar, scroll to Controller or iBridge. If you see Apple T2 Security Chip listed, your Mac is eligible.
Quick eligibility summary:
- Apple silicon MacBook Air (M1 or later) + macOS Monterey or later: Supported — use Erase All Content and Settings.
- Intel MacBook Air with T2 chip + macOS Monterey or later: Supported — use Erase All Content and Settings.
- Intel MacBook Air without T2 chip, or any Mac on macOS Big Sur or earlier: Not supported — use the Recovery Mode and Disk Utility method instead.
Important: Erase All Content and Settings keeps the macOS version currently installed on your Mac. You do not need to manually reinstall the operating system after the wipe — the Mac will restart and go straight to Setup Assistant with the same macOS already in place.
Finding the Option by macOS Version
- macOS Ventura (13) or later: Go to Apple menu > System Settings > General > Transfer or Reset > Erase All Content and Settings.
- macOS Monterey (12): Go to Apple menu > System Preferences > Erase All Content and Settings.
Full Reset Steps
- Enter your Mac administrator password when prompted and click OK.
- Review the erase summary, which lists everything that will be removed, then click Continue.
- If Find My is still active, you will be prompted to sign out of your Apple Account at this point. Enter your Apple ID password and confirm.
- Click Erase All Content & Settings to begin. The Mac will restart and erase itself.
- If asked to reconnect Wi-Fi or Bluetooth accessories during the restart process, follow the on-screen prompts.
- When the Mac finishes and arrives at the Setup Assistant (the Welcome screen), you can either complete setup yourself or press Command + Q to shut down and leave it for the new owner.
If Erase All Content and Settings Refuses to Run
Even on a supported MacBook Air, Erase All Content and Settings can fail to start if the Mac has extra internal volumes that the tool cannot automatically remove. The most common cause is a Boot Camp Windows partition, but any additional internal volume beyond the standard macOS volume group can trigger this blocker.
If you see an error stating that other volumes need to be erased first, open Boot Camp Assistant (found in Applications > Utilities), select the option to remove Windows, and follow the prompts. Once the additional partition has been removed, return to Erase All Content and Settings and run it again.